

Create Panel Divisions adds (and optionally clears) curtain grid lines so the glass panels of a
curtain wall follow your office module — either a standard panel width (for example 1200 mm
glass with neat end panels) or a custom repeating pattern you type in (for example
400-1200-800). It is the panel-division step of Create Drawing on its own:
use it to re-divide a wall that has already been drawn, to try a new module on a design, or to
lay out a wall before you draw it.
| Where | A+ Tools tab › Curtain Wall Utilities panel › Create Panel Divisions |
| You select | One curtain wall (or several, one after another, in Multiple mode) |
| You get | New vertical grid lines at your module, optional horizontal grid lines from a vertical pattern, and doors and other panels left intact (Standard scheme) |
| Credits (Free licence) | 5 credits for each curtain wall that is divided — see Licensing and credits |
 The Curtain Wall Utilities panel on the A+ Tools tab.
Before you start
- Open a view where you can pick the wall. The button is available in floor, ceiling, structural and area plans, elevations, sections, detail views and 3D views. For the Custom Pattern scheme, work in the elevation of the wall: the pattern starts at the bottom-left corner as you see it in that view. In a plan or 3D view there is no "left", so the pattern starts at the wall's start point instead.
- The glass panels must be loadable curtain panel families. You tell A+ Tools which family is "the glass" (the Glass panel family setting). Only panels of that family are divided; doors and other panels are left alone.
- The wall's dimensions in the active view are removed. Re-dividing changes the grid the wall's dimensions refer to, so A+ Tools deletes the dimensions of the wall you pick in the active view — those that measure the wall, its grid lines, panels or mullions — before it divides it. Dimensions of other walls and other hand-placed dimensions stay. Run Redimension Elevation in the same view afterwards to get clean dimensions back.
- Unsupported walls. Walls whose grid lines are not plumb and level (for example an angle set on the instance), or whose wall type controls the grid layout (Vertical Grid or Horizontal Grid Layout other than None on the type), cannot be re-divided. A+ Tools tells you and lets you pick another wall.
- You need to be signed in (or on a trial). When you are signed out, the button is greyed out. On a Free licence each divided wall uses credits.
Step by step
- Open the elevation (or another model view) that shows the curtain wall.
- Click A+ Tools › Curtain Wall Utilities › Create Panel Divisions. The first time — or when the saved glass panel family no longer exists in the project, or the layout settings are incomplete — the Panel Division Settings window opens first. Fill it in and click OK. Cancel stops the command.
- Check the controls on the Options bar: Multiple, Clear (set from the profile's Clear existing glass divisions setting) and Settings.
- Pick the curtain wall. The status bar reads Select curtain wall to divide panels (Press Escape to finish). Only curtain walls can be picked.
- A+ Tools divides the panels. Once the first wall is picked, Multiple, Clear and Settings are locked for the rest of the run.
- Single mode (Multiple unticked): the command finishes after the wall. Multiple mode: pick the next wall, and so on. Press Esc (or click Finish) when you are done — see Finishing a run.
The whole run is one entry in Revit's undo list (Create Panel Divisions), so one Ctrl+Z takes it all back.
 Before and after — Standard scheme, 1200 mm, Always centre standard panels. The door is untouched.
The Options bar
While the command waits for you to pick a wall, A+ Tools adds its controls to Revit's Options bar (below the ribbon).
 The Options bar while Create Panel Divisions waits for a pick (Revit 2026).
| Control | What it does |
|---|---|
| Multiple | Keep picking walls one after another in the same run. Available on paid plans only — on Free and trial licences it is greyed out with the tooltip Multiple mode is only available on paid plans. |
| Clear | Clear the existing glass divisions before dividing (see What Clear does). Starts ticked or unticked as the profile's Clear existing glass divisions setting says; change it here for this run only. |
| Settings | Opens the Panel Division Settings window. Changes you save there are kept even if you later discard the run. |
| Finish | Ends the run and keeps every wall divided so far, without asking. |
Your Multiple choice is remembered until you close Revit and is shared with the other A+ Tools commands. Clear starts from the profile at every run, so the profile you pick — for example from the ribbon dropdown — decides it. If you change the setting with Settings during the run, the Clear box follows.
Note — In Revit 2027, which no longer has the Options bar strip, the same controls appear as an A+ Tools panel on the Modify tab: a large Settings button, with Multiple, Clear and Finish next to it.
 Revit 2027: the options appear on the Modify tab.
Finishing a run and Esc
- Press Esc before any wall has been divided: the command simply ends.
- Press Esc in Multiple mode after one or more walls: the Commit Changes? window asks
what to do — You have divided panels in N curtain wall(s).
- Yes - Commit changes and finish keeps everything and ends the command.
- No - discard undoes every wall in this run.
- Continue goes back to picking (Continue dividing panels).
- Click Finish on the Options bar to keep everything and end without the question.
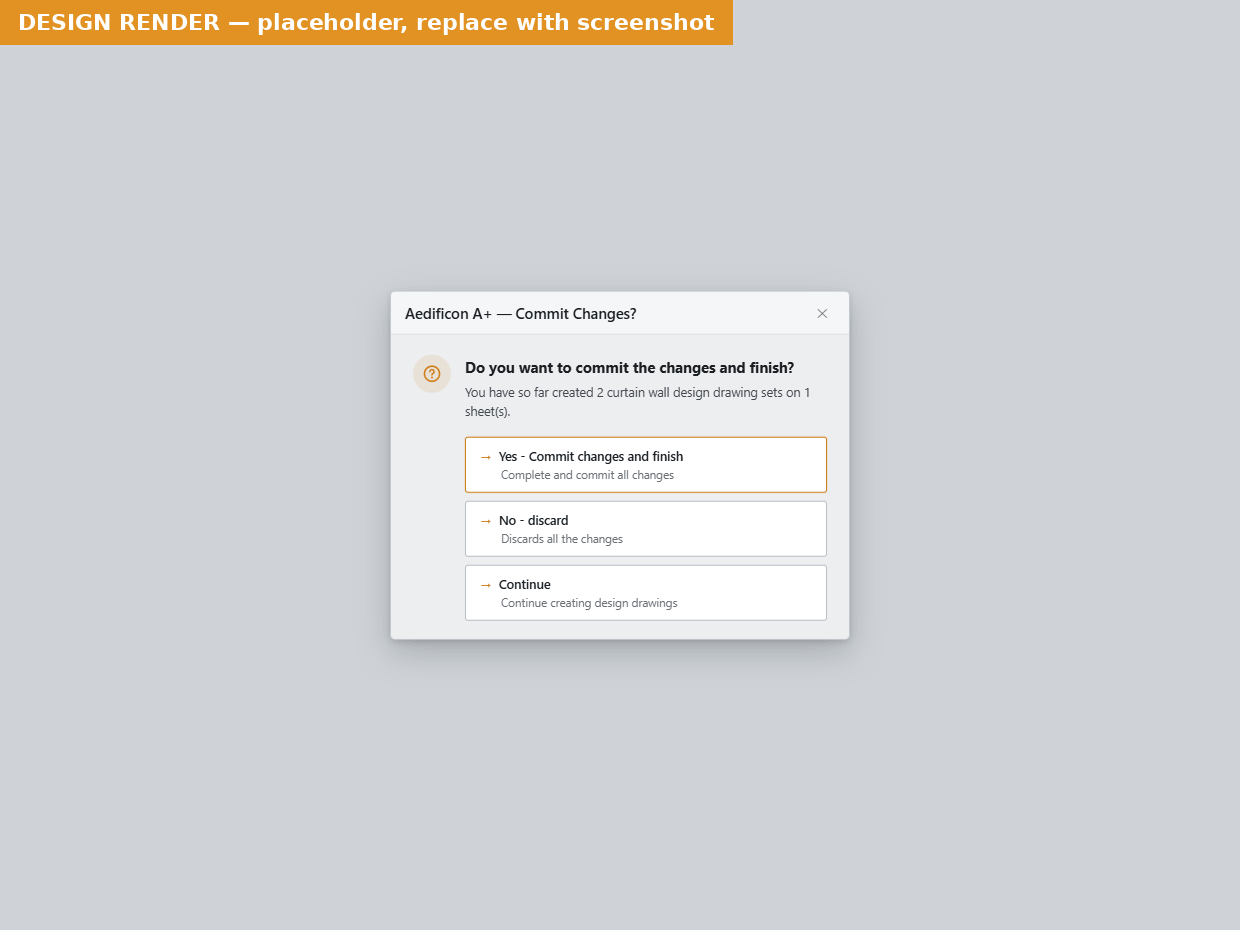 Commit Changes? after pressing Esc in Multiple mode.
Running with a specific profile from the ribbon
If any Create Panel Divisions settings profile has Add as menu item to ribbon switched on, the ribbon button turns into a drop-down: one item per flagged profile (Runs the command with the '…' profile.), then a separator and Settings…. Picking a profile item makes that profile the selected one and starts the command. Settings… opens the Panel Division Settings window and, when you click OK, runs the command with what you just confirmed. See Settings profiles and repositories.
 With profiles on the ribbon, the button becomes a drop-down.
Settings
The Panel Division Settings window
Open it with Settings on the Options bar, with Settings… in the ribbon drop-down, from the Settings Manager, or automatically when the command finds that it is not set up yet.
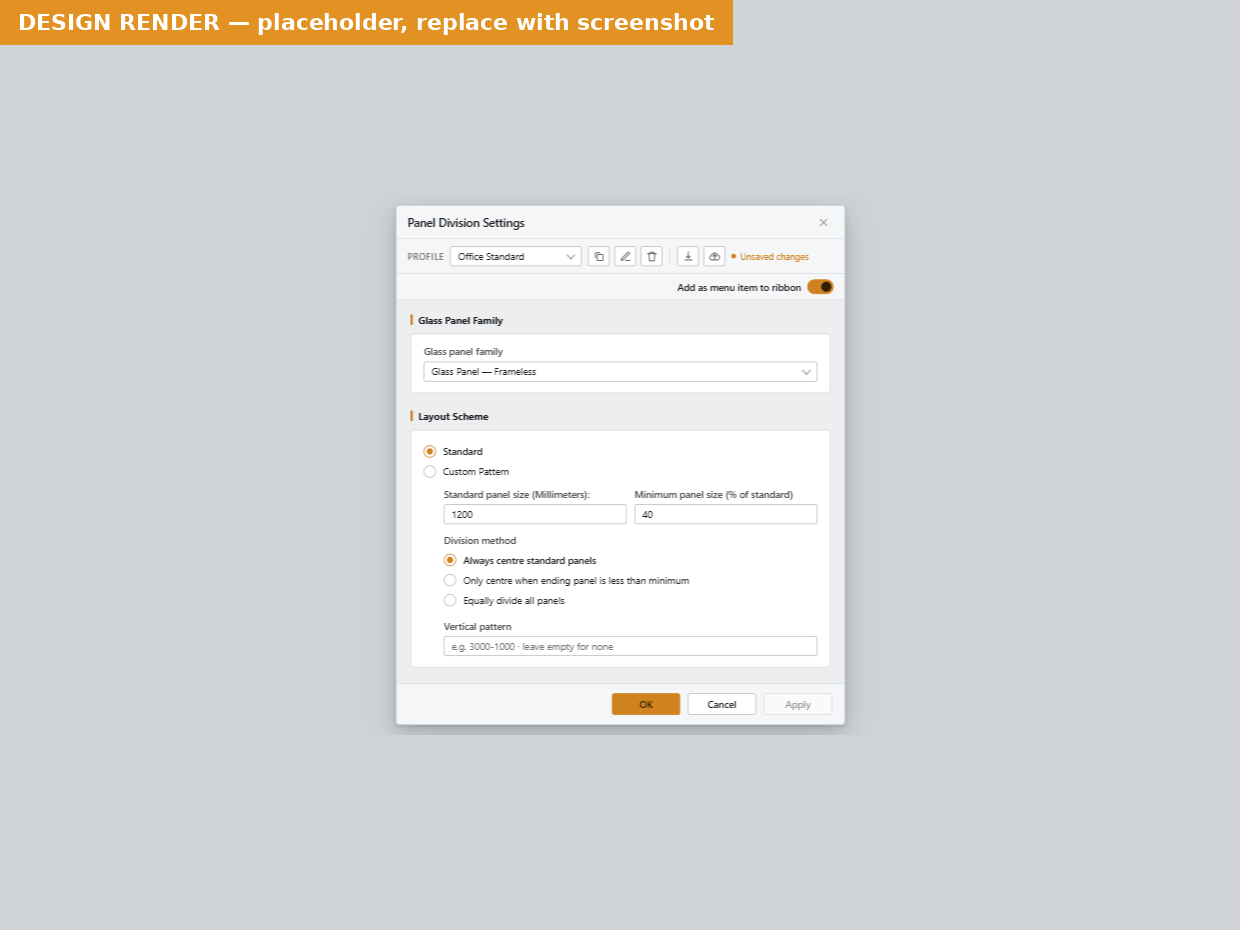 Panel Division Settings — Standard scheme.
The profile bar at the top of the window is shared by every A+ Tools settings window: choose, create, rename, delete, load and save profiles, and switch Add as menu item to ribbon on or off. It is described once in Settings profiles and repositories. In this narrow window it is shown in its compact, two-row form.
Panel Division
| Setting | What it does | Default / tip |
|---|---|---|
| Clear existing glass divisions | Removes existing glass divisions before dividing (see What Clear does). | Unticked. Sets the starting state of the Clear box on the Options bar each time you run the command; you can still change that box for a single run. |
| Unlock grid lines | When clearing finds locked (pinned) grid lines, unlock them automatically instead of asking you. | Unticked — you are asked with the Locked Grid Lines prompt. Tick it once you trust the result, to avoid the prompt. |
| Glass panel family | The curtain panel family that counts as “glass”. Only panels of this family are divided; with Custom Pattern, every panel of the wall must be of this family (different types of the same family are fine). | Required. The list shows the curtain panel families loaded in the project. If the saved family has been deleted from the project, the field is shown in red and you must pick a family again. |
Layout Scheme
Choose one of two schemes. The selected scheme is shown in bold and only its fields are visible.
| Scheme | Use it when |
|---|---|
| Standard | You want a fixed module width (e.g. 1200 mm). Each glass panel wider than the module is split; doors and other panels are untouched. Works on walls with mixed panel families. |
| Custom Pattern | You want an irregular, repeating rhythm (e.g. a narrow 400 mm vent panel, then 1200 mm, then 800 mm, repeated) across the whole wall, and optionally in height. Only for walls made entirely of the glass panel family — add doors afterwards. |
Standard scheme
| Setting | What it does | Default / tip |
|---|---|---|
| Standard panel size (in your project's length units) | The target width of the glass panels. Glass panels wider than this are divided; panels at or below it are left as they are. | Built-in starting value 800 mm; your office profile may differ. Use a point (.) as decimal separator. |
| Minimum panel size (% of standard) | The smallest end panel you accept, as a percentage of the standard size. With 1200 mm and 50 %, end panels should not be narrower than 600 mm. | Whole number from 1 to 99. Built-in starting value 70. |
| Division method › Always centre standard panels | Standard panels are centred in the glass run; the leftover is split into two equal end panels. If the end panels would be smaller than the minimum, one standard panel is given up and the leftover is shared again. | Default. Gives symmetrical elevations. |
| Division method › Only centre when ending panel is less than minimum | Standard panels start from the left edge of the glass run; the leftover becomes one end panel on the right. Only when that end panel would be below the minimum does it switch to the centred layout. | Good when one side is the “start” of the module, e.g. next to a door. |
| Division method › Equally divide all panels | Divides the run into the fewest equal panels that are no wider than the standard size. | No odd-sized panels at all — every panel the same width. |
| Vertical pattern (in your project's length units) | Optional. Adds horizontal grid lines: segment heights separated by dashes, repeated from the bottom of the wall upwards (e.g. 3000-1000). Leave empty for no horizontal divisions. |
Empty. See Pattern syntax. |
The italic note under the Standard fields explains an important detail: Panels created above an added horizontal division are switched to the type of the leftmost glass panel on the wall (e.g. the panel above a door becomes glass instead of a copy of the door). Revit normally gives every new panel the type of the panel below it, so without this a transom above a door would become a second door.
Worked example — Standard scheme. A run of glass 5500 mm wide, Standard panel size 1200 mm, Minimum panel size 50 % (600 mm):
| Division method | Resulting panels (mm, left to right) |
|---|---|
| Always centre standard panels | 950 · 1200 · 1200 · 1200 · 950 (four standard panels would leave 350 mm ends — below 600 — so one is given up) |
| Only centre when ending panel is less than minimum | 1200 · 1200 · 1200 · 1200 · 700 (the 700 mm end panel is above the minimum, so it stays on the right) |
| Equally divide all panels | 1100 · 1100 · 1100 · 1100 · 1100 |
Panel widths are measured from grid line to grid line (the centre of the mullion), and at the ends of the wall from the wall's outer edge — the same points the A+ Tools dimensions measure to, so the numbers on your elevation match your settings.
Custom Pattern scheme
| Setting | What it does | Default / tip |
|---|---|---|
| Horizontal pattern (in your project's length units) | Panel widths separated by dashes, repeated across the wall from the bottom-left corner (e.g. 400-1200-800). Creates vertical grid lines. Leave empty for no divisions in this direction. |
Empty. |
| Vertical pattern (in your project's length units) | Panel heights separated by dashes, repeated bottom-up (e.g. 3000-1000). Creates horizontal grid lines. Leave empty for no divisions in this direction. |
Empty. This is the same setting as the Vertical pattern under Standard. |
| Pattern placement › Always centre pattern horizontally on curtain wall | The repeated pattern is centred on the wall; the leftover width is split into two equal end panels. If an end panel would be below the Minimum panel width, the last segment of the pattern is dropped and the leftover shared again. | Default. |
| Pattern placement › Only centre when ending panel is less than minimum | The pattern starts at the left edge; the leftover becomes the last panel on the right. Only when that panel would be below the minimum does it switch to the centred layout. | |
| Minimum panel width (in your project's length units) | The smallest end panel of the horizontal pattern you accept. A fixed length, not a percentage. | Built-in starting value 800 mm. Must be greater than 0. |
At least one of the two patterns must contain a value. The italic note under the fields reminds you: The patterns repeat from the bottom-left corner of the curtain wall as seen from the observer point. Note: the custom pattern only applies to curtain walls whose panels are all of the specified glass panel family — walls with mixed panel families are skipped.
How the pattern is laid out:
- Horizontally the pattern is repeated from the wall's outer left edge (as seen in the active elevation or section) for as long as the next segment still fits. What is left over is placed according to Pattern placement. If the pattern fits the wall exactly, there are no end panels.
- Vertically the pattern always starts at the wall's outer bottom edge — including the bottom mullion — and runs upwards. What is left over becomes the top panel; there is no centring in height.
- New grid lines are never placed within 50 mm of an existing grid line or right on the wall edge.
Worked examples — Custom Pattern.
| Wall | Pattern | Placement / minimum | Resulting panels (mm) |
|---|---|---|---|
| 6400 wide | Horizontal 1200-600 |
Only centre when ending panel is less than minimum, 800 | 1200 · 600 · 1200 · 600 · 1200 · 600 · 1000 (the 1000 leftover is above the minimum, so it stays at the right end) |
| 6400 wide | Horizontal 1200-600 |
Always centre…, 800 | 800 · 1200 · 600 · 1200 · 600 · 1200 · 800 (a trailing 600 is dropped so both end panels reach 800) |
| 6000 wide | Horizontal 400-1200-800 |
Only centre…, 800 | 400 · 1200 · 800 · 400 · 1200 · 800 · 400 · 800 |
| 7500 high | Vertical 3000-1000 |
— | 3000 · 1000 · 3000 · 500 (top) |
Pattern syntax
- Write the segment sizes in your project's length units, separated by dashes:
400-1200-800. A semicolon or a space also works as separator:400;1200;800or400 1200 800. - Every value must be a positive number. Decimals are fine (
1200.5). Negative numbers and zero are not possible. - One value repeats on its own:
1200gives a line every 1200. - The sequence repeats in the order you type it, from the left (horizontal) or from the bottom (vertical).
- Only one line, no repeat? Follow the value with a size larger than the wall:
2100-20000puts one horizontal line at 2100 and nothing above it. - When the window shows a saved pattern, it is always written with dashes.
What Clear does
Clear (on the Options bar, starting from the profile's Clear existing glass divisions setting) decides whether existing divisions are removed before the new ones are added. What is removed depends on the scheme:
| Scheme | Clear ticked | Clear unticked |
|---|---|---|
| Standard | Every vertical grid line that sits between two glass panels is removed, so each run of glass between doors or other panels becomes one wide panel, which is then divided again. Lines next to a door or another panel stay, so doors keep their position and size. If a Vertical pattern is set, all horizontal grid lines are removed first (from the bottom up), so doors grow back to full height before the new pattern splits them — the parts above the lowest new line then become glass. | Existing grid lines stay. Only glass panels that are currently wider than the standard size are divided. On a wall that already has horizontal rows, only the bottom row is looked at — the new vertical lines run the full height of the wall anyway. |
| Custom Pattern | All grid lines in both directions are removed — a clean canvas for the pattern. | Existing grid lines stay and the pattern's lines are added; a new line that would land within 50 mm of an existing one is skipped. |
If some of the grid lines to be removed are locked, you get the Locked Grid Lines prompt (unless Unlock grid lines is ticked in the settings). When locked lines were removed, the new grid lines are locked too, so your intent to protect the grid is kept.
Footer and validation
| Button | What it does |
|---|---|
| Restore defaults… | Reloads the Default profile from your local repository into the window (you are asked to confirm). |
| OK | Checks the fields, saves them to the selected profile and closes the window. |
| Cancel | Closes the window without saving. If the window opened automatically at the start of the command, the command stops. |
| Apply | Saves without closing. Only enabled when there are unsaved changes; Ctrl+S does the same. |
There is no error message in this window: a field that is missing or not valid is simply shown with a red border and tinted background, and OK / Apply do nothing until it is fixed. The checks are:
- Glass panel family must be selected (and exist in the project).
- Standard scheme: Standard panel size greater than 0; Minimum panel size a whole number from 1 to 99; Vertical pattern empty or positive numbers only.
- Custom Pattern scheme: each pattern empty or positive numbers only, and not both empty (both turn red); Minimum panel width greater than 0.
- Only the fields of the selected scheme are checked.
 Panel Division Settings — Custom Pattern, with an invalid horizontal pattern shown in red.
 Result of a Custom Pattern run, seen in the wall's elevation.
Tips
Tip — Divide, then dimension. Run Create Panel Divisions in the wall's elevation, then Redimension Elevation in the same view. Dividing removes the wall's dimensions in that view; redimensioning puts back a complete, correct set.
Tip — Re-dividing a wall that is already drawn. When you run Create Drawing again on a wall that already has a drawing, it does not re-divide the panels (it would break the existing drawing's dimensions). Use this command in the existing elevation instead, then Redimension Elevation.
Tip — Transom above doors. With the Standard scheme, set Vertical pattern to your door height followed by a large number — for example
2100-20000— and tick Clear. You get one horizontal line at 2100 mm across the wall, and the panels above the doors become glass. Remember the vertical pattern is measured from the outer bottom edge of the wall, including the bottom mullion.
Tip — Clear per profile. Because the profile sets the Clear box, you can keep one profile that re-lays walls from scratch (Clear existing glass divisions ticked) and one that only divides oversized panels (unticked), and pick between them from the ribbon.
Tip — One profile per module. Create profiles such as “1200 module”, “900 module” and “Vent rhythm 400-1200-800”, and switch on Add as menu item to ribbon for each. You can then pick the module straight from the ribbon drop-down without opening the settings.
Tip — Custom Pattern and doors. The Custom Pattern scheme only works on walls made entirely of the glass panel family. Lay out the pattern first, then swap the panels that should be doors.
Tip — Equal panels look calmer. If an odd end panel bothers you, try Equally divide all panels: every panel in a run gets the same width, never wider than the standard size.
Tip — Nothing changed? Check that the panels really are of the Glass panel family in the settings, and that they are wider than the Standard panel size — narrower panels are left alone. If a wall fails to divide for another reason, the details are written to the A+ Tools log in
%LOCALAPPDATA%\Aedificon\A+ for Revit 2026\(or…2027\).
Note — Only the picked wall's dimensions are removed. Other walls in the same view keep theirs, so you can divide several walls in one plan or elevation and re-dimension them afterwards.
Messages you might see
| Message (title — headline) | What it means | What to do |
|---|---|---|
| Locked Grid Lines — Some grid lines on this curtain wall are locked. | Clear needs to remove grid lines that are locked (pinned). | Unlock and continue unlocks them and divides. Skip dividing leaves this wall exactly as it was — grid and dimensions — and goes on to the next pick; a skipped wall is not counted and costs no credits. Cancel also leaves this wall and the view unchanged. Tick Apply to all consecutive curtain walls to reuse your answer for the rest of the run (Cancel is never remembered). |
| Panel Division Skipped — Panel redivision is not supported | The wall's grid has an angle on the instance, or the wall type drives the grid layout. Nothing was changed. | Pick another wall, or remove the instance angle / set the type's layout to None (on a duplicate type). Tick Apply to all consecutive curtain walls to stop seeing this for the run. |
| Panel Division Skipped — Custom Pattern Not Applied | Custom Pattern scheme, but not every panel of the wall is of the glass panel family (e.g. it has a door). Nothing was changed. In Multiple mode the skipped walls are listed together at the end: The custom pattern was skipped on N curtain wall(s). | Use the Standard scheme for walls with doors, or swap all panels to the glass family first. |
| Commit Changes? — Do you want to commit the changes and finish? | You pressed Esc in Multiple mode after dividing at least one wall. | See Finishing a run. |
| Credits could not be charged | The divisions were made, but the Free/trial credit charge failed. Your work is kept. | See Licensing and credits. |
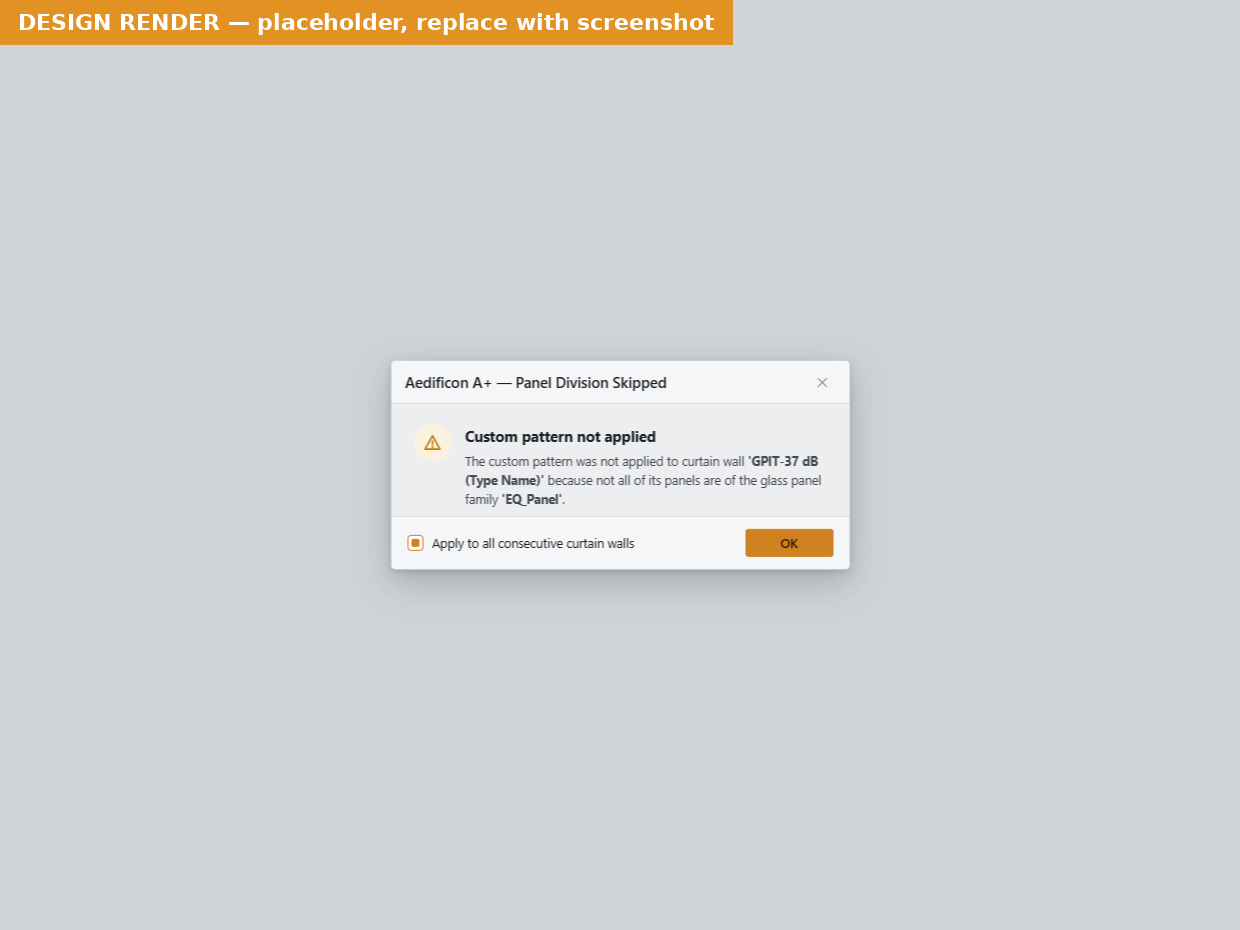 The notice shown when a wall with mixed panel families is skipped.
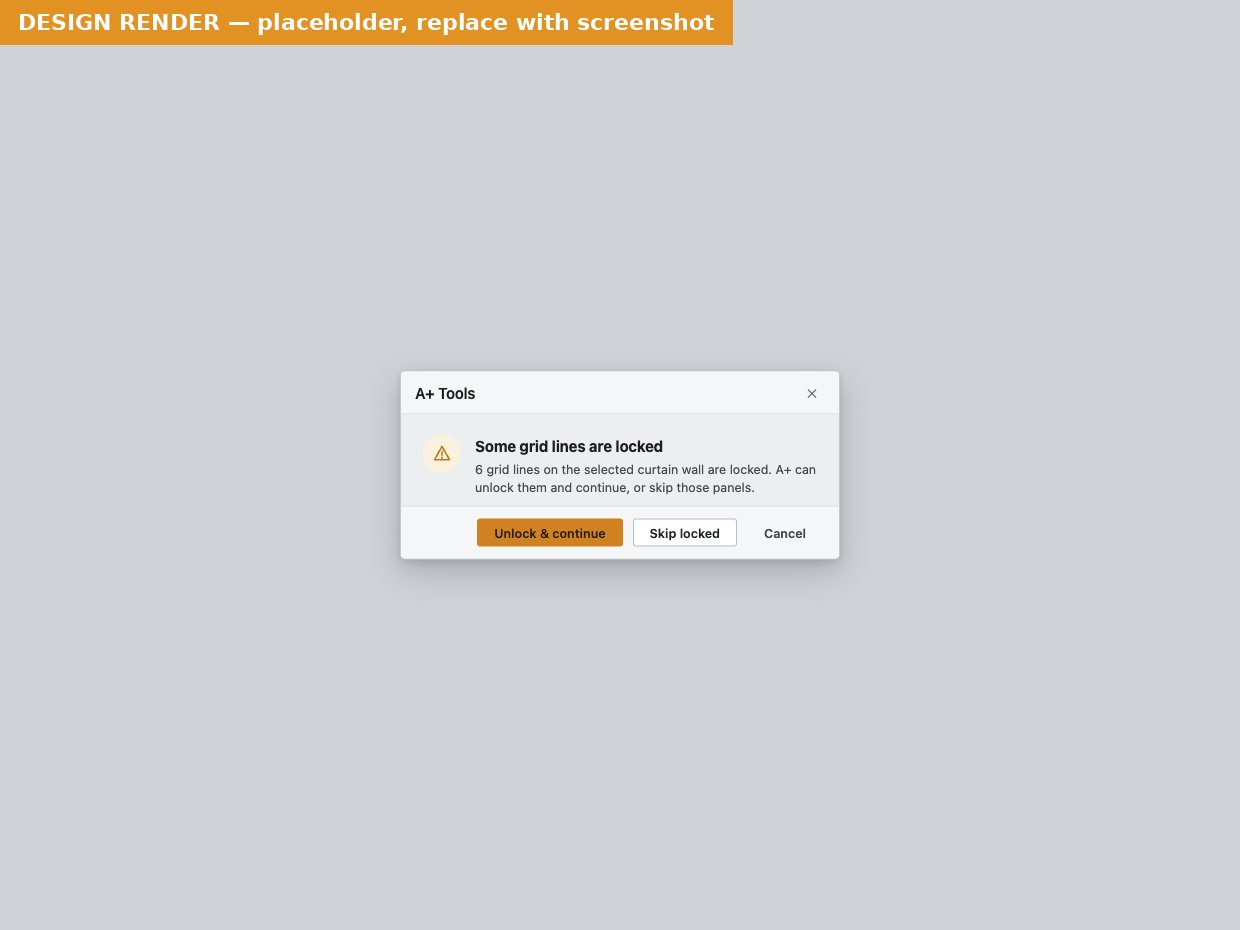 The Locked Grid Lines prompt.
For licence, sign-in and credit messages, and the full list of messages, see Messages and troubleshooting.
Related pages
- Redimension Elevation — dimension the wall again after dividing.
- Create Drawing — the full drawing package, which includes panel division.
- Settings profiles and repositories — the profile bar, ribbon menu items and the Default profile.
- Settings Manager — every tool's settings in one window.
- Licensing and credits
- Messages and troubleshooting
Last updated 2026-10-02.